nowledge in Agentforce or complete the Agentblazer Legend Challenge.
In today’s blog we’ll go over exercise I of the Superbadge. For more information on this Superbadge please click here: https://trailhead.salesforce.com/content/learn/superbadges/superbadge-flow-for-agentforce
Just like with other Superbadges you’ll want to sign up for a free Developer Edition org.
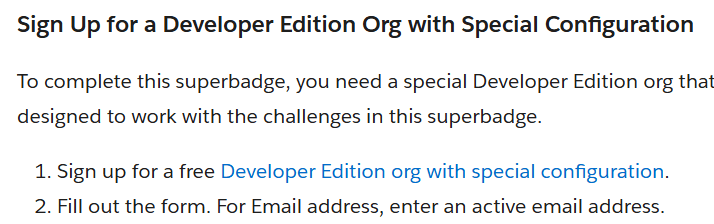
It will take a few minutes to provision the org so make sure you do this step ahead of time.
The Use Case: Capricorn Coffee is growing and are struggling to provide high level of customer service to all their customers. They want to use Agentforce to create an agent that can perform customer service tasks so that customers can get the support they need 24 hours a day 7 days a week.
Why Agentforce?: Building this agent will not only provide a higher level of service to customers it reduces the need for Capricorn to staff up a call center 7 days a week. They can focus their efforts on growing their business.
Step I: Set Up The Agent

(1) In Setup search Einstein Setup.
(2) Click on Einstein Setup.
(3) Turn on Einstein and refresh your screen.

(1) Search for Agents.
(2) Click on Agentforce Agents.
(3) Turn on Agentforce.
(4) Turn on the Default Agent.
(5) Click New Agent.
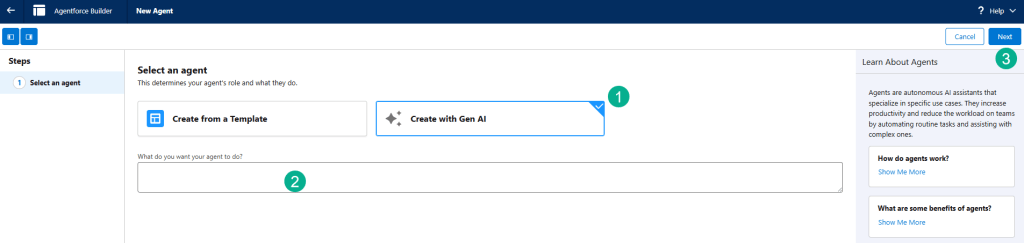
(1) Select Create with Gen AI.
(2) Don’t enter anything in this area for this exercise.
(3) Click Next.
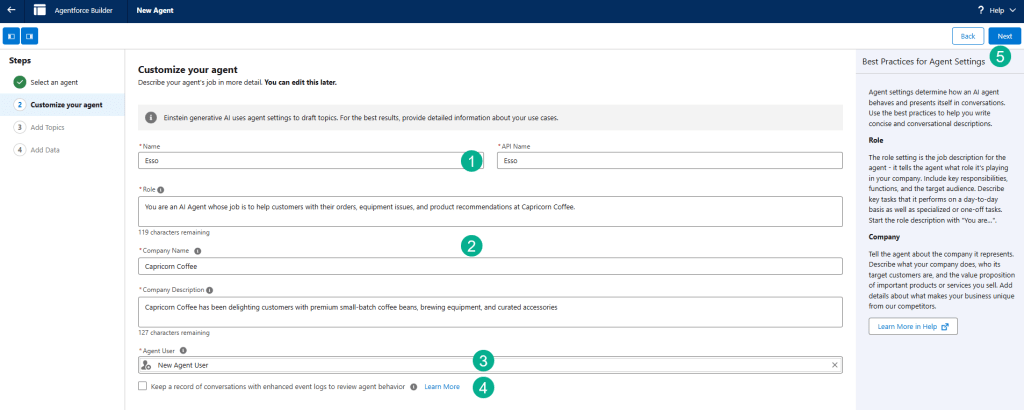
(1) Enter the Name, the API name will automatically appear.
(2) Fill in the information provided by Salesforce in the exercise.
(3) Keep the New Agent User selected.
(4) Don’t check the Keep a record box.
(5) Click Next.

Click Next, don’t add any topics.

Click on the Create button.
Step II: Configure to send system emails with an org-wide email address
We are configuring an Org-Wide email address so that the agent can use a common email alias.

(1) In Setup search for “organization”.
(2) Click on Organization Wide Addresses.
(3) Click Add
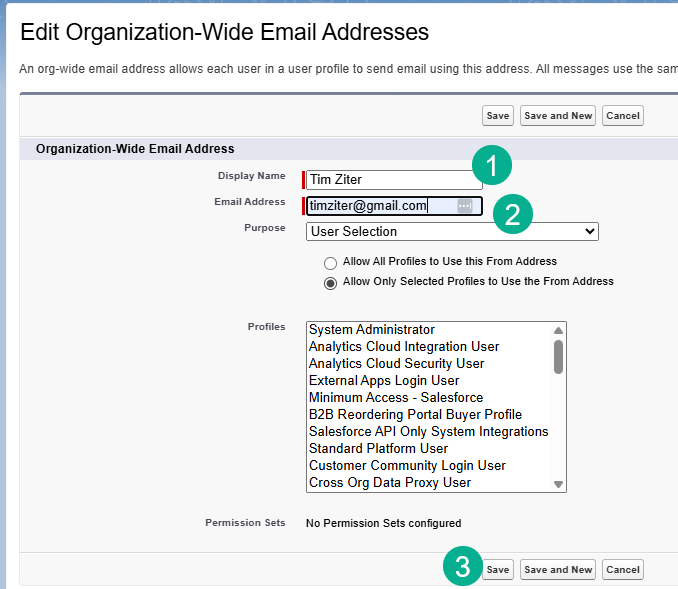
(1) Enter in your name.
(2) Email Address.
(3) And click Save.
You should receive an email verification via email.
After a few minutes you can see that the email was verified.
Step III: Review the Embedded Service Deployment
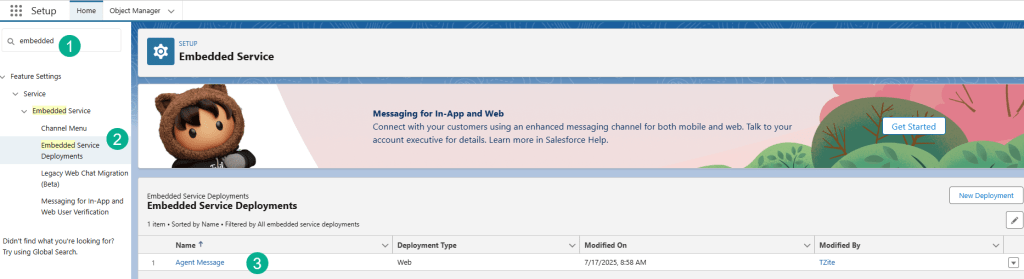
(1) In search type in Embedded.
(2) Click on Embedded Service Deployments.
(3) There isn’t much you need in this step, just to verify that the record is there.
Step IV: Review and edit the Esso Permission Set
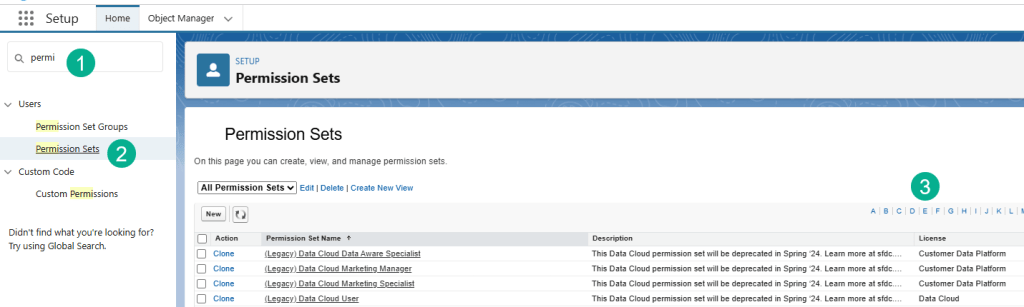
(1) In Setup search for Permission Sets.
(2) Click on Permission Sets.
(3) You are going to search in the Es for Esso.

And click on Esso Permissions.

Then scroll down to you get to:
(1) the System section.
(2) Click on System Permissions
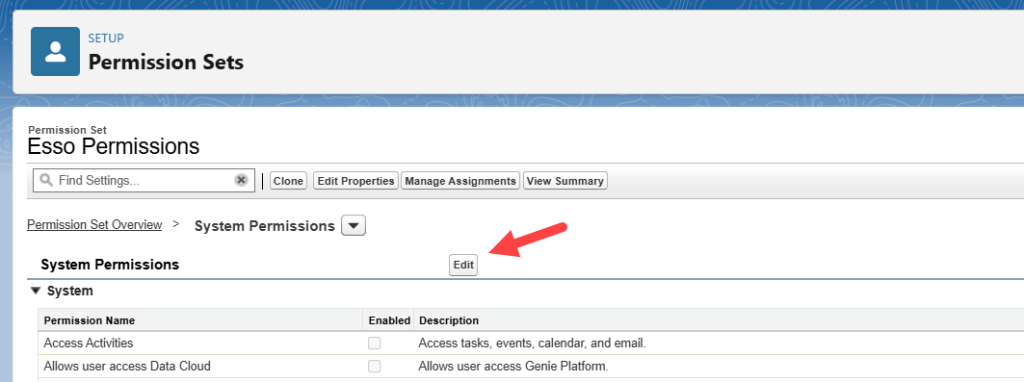
Click Edit.
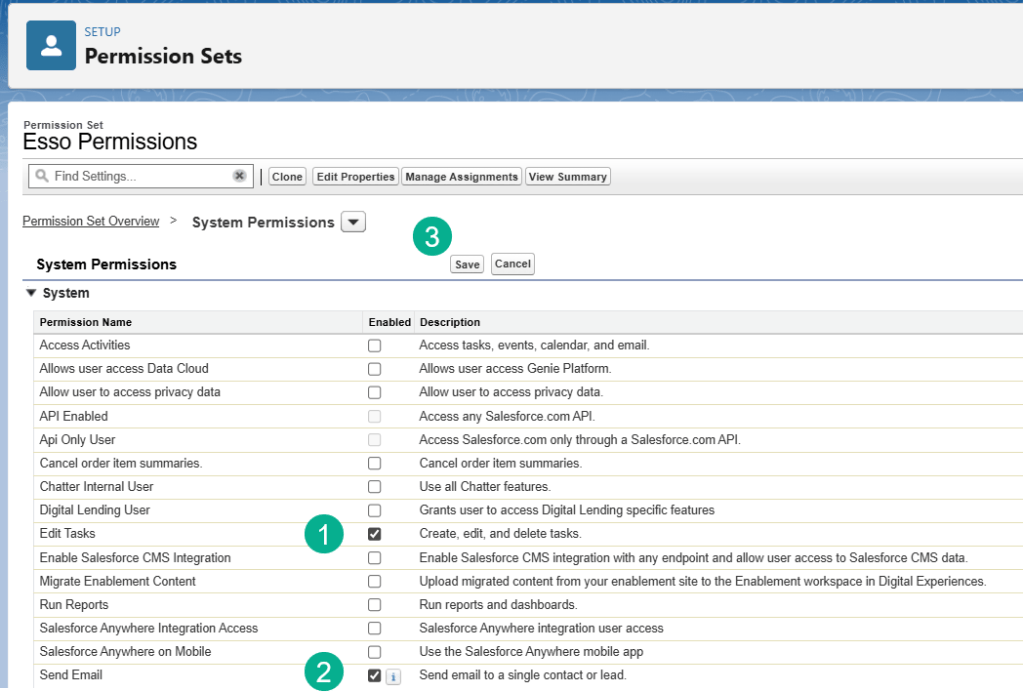
(1) Check the Edit Tasks box.
(2) Check the Send Email box.
(3) Click Save.

Click Save here as well.
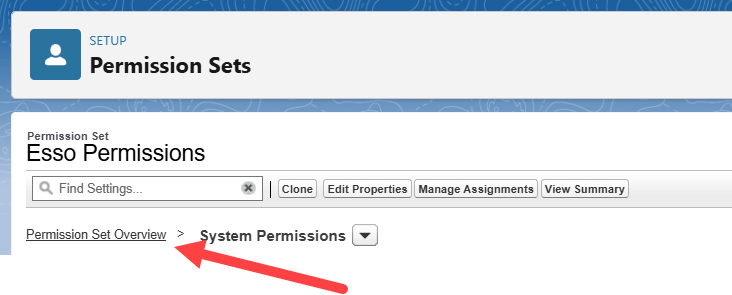
Next click on Permission Set Overview.

We are going to click on App Permissions.
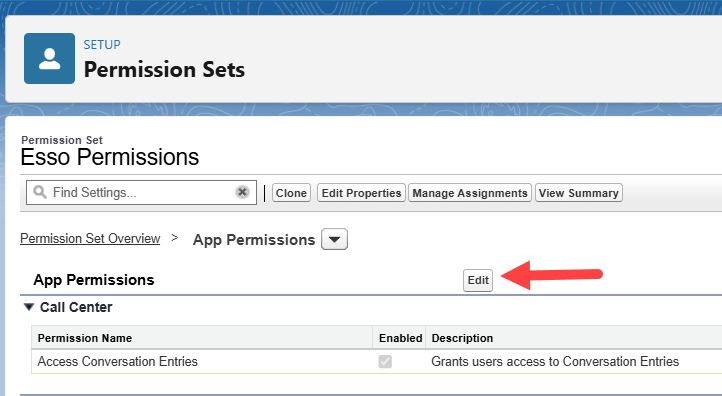
We are going to click on Edit.
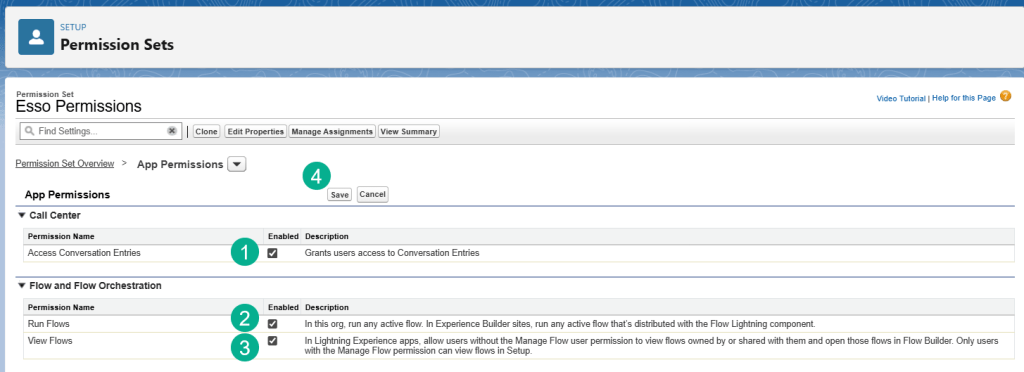
(1) Click on Access Conversation Entries.
(2) Click Run Flows.
(3) Click View Flows.
(4) Click Save.
Click Save as well.
Step V: Check EinsteinServiceAgent User
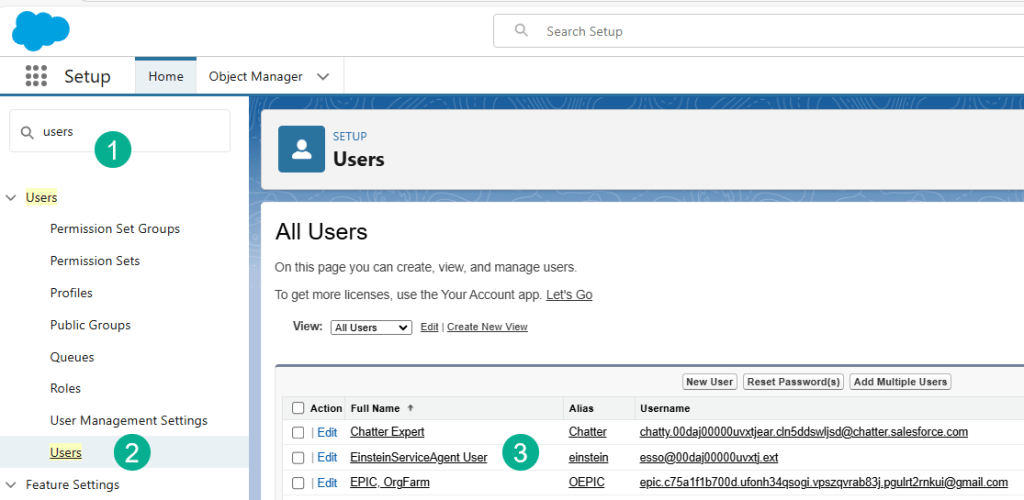
(1) Search for Users in Setup.
(2) Click on Users.
(3) Click on Edit for the EinsteinServiceAgent User.

(1) Enter in your email address.
(2) Click Save.
You will receive an email to verify your email address

Click on the link in the email.
A popup message will appear, click Continue.
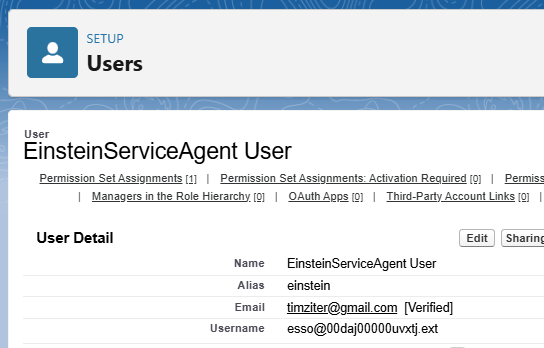
Going back to the user we should see that the email address has been verified.
That should complete challenge part I of this Superbadge. Look for challenge part II coming soon!
Interested in building a Proof of Concept of an Agent, we can help. Sign up for a free discovery session to build your first Agent. https://howtoagentforce.com/agentforce-agent-poc/
